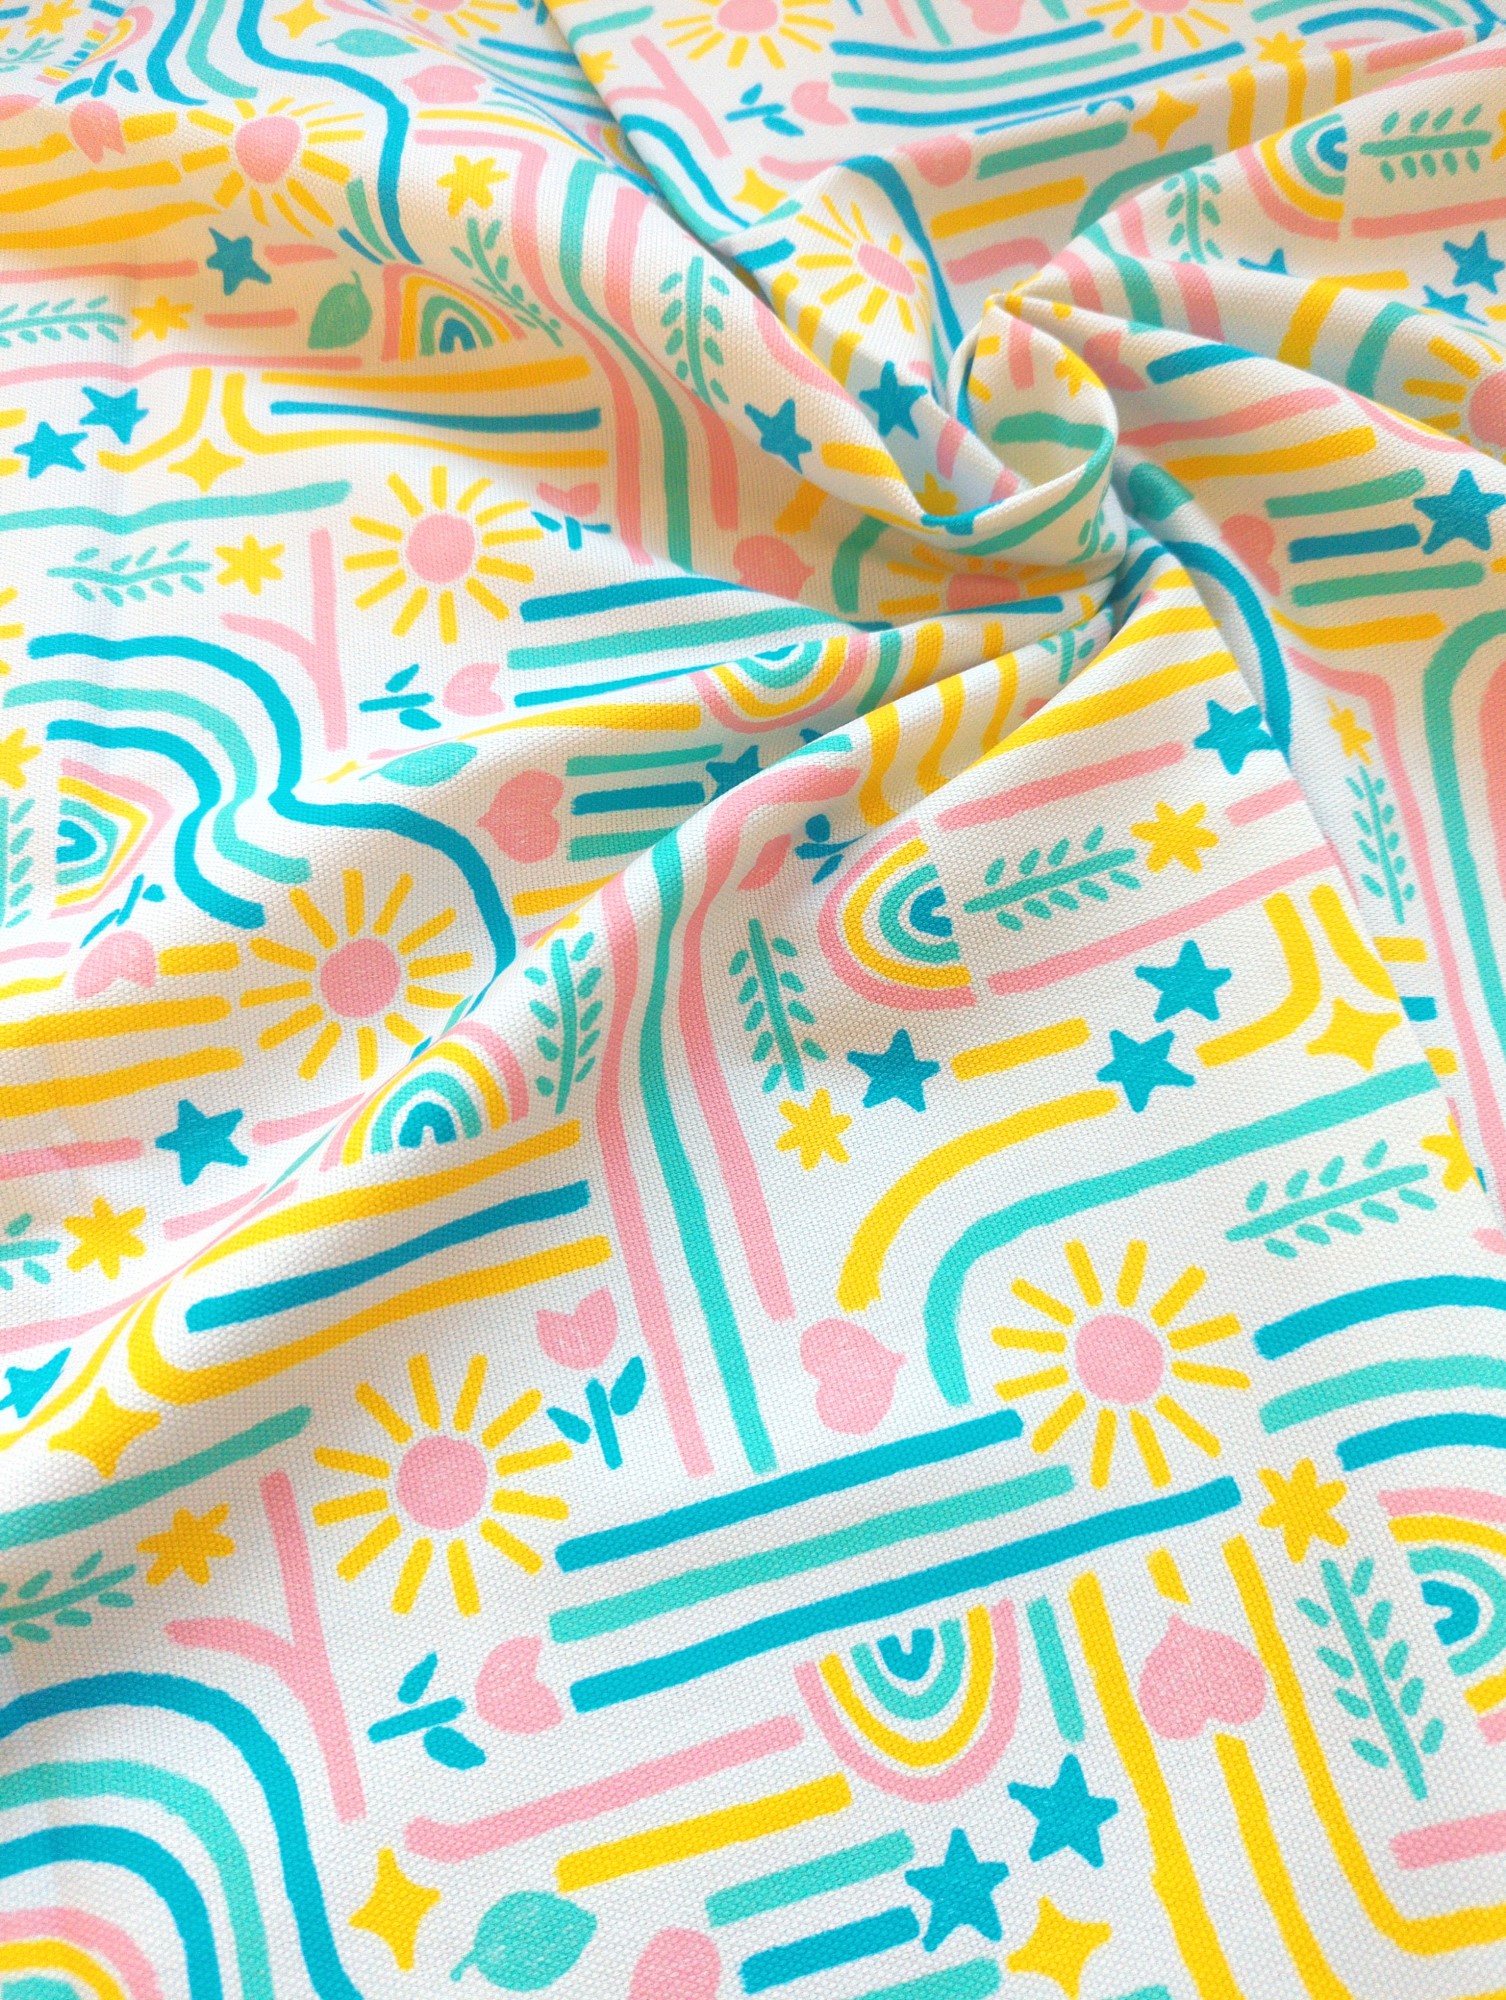
Look! Look look look! I designed a fabric and got it printed for a project, and if you like it YOU can order it too!
This design is called “Chalk Doodles” because it’s supposed to look like (a professional rendition of) children’s chalk drawings.
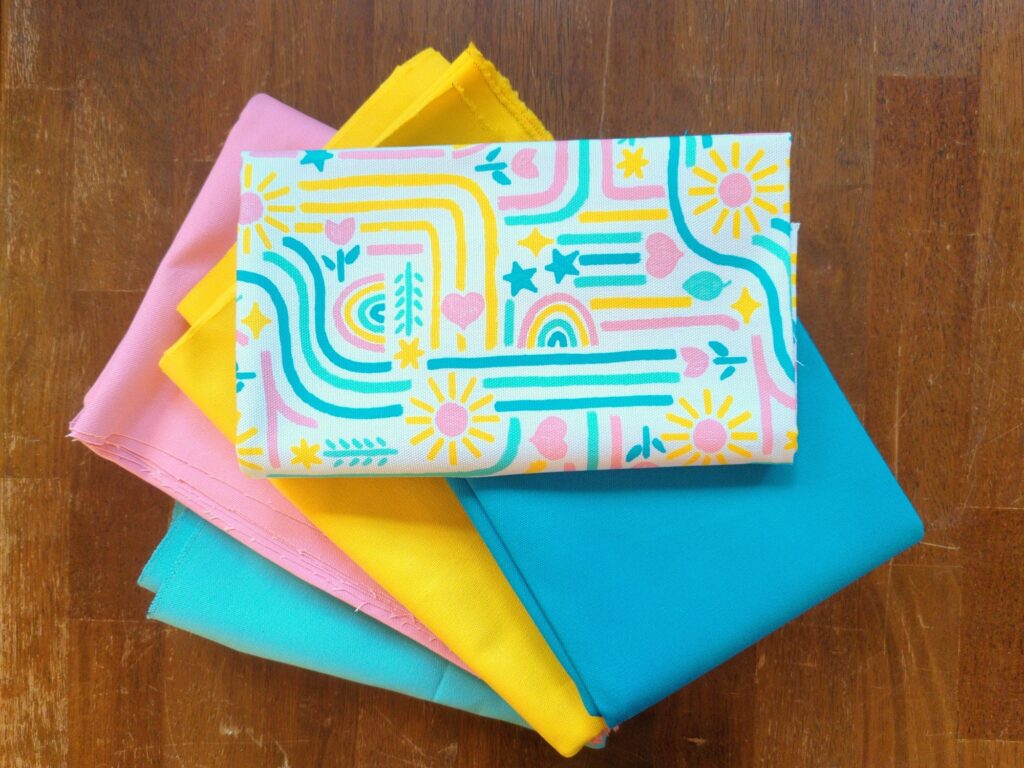
I’m planning to make some toddler backpacks to sell, and I thought having my own lining fabric would make them extra special. I got some help with color matching via instagram polls, and then did my best to make something happy and fun, that would make you smile every time you opened the backpack.
This is my first official foray into surface design, although I’ve been filling up papers with doodles and patterns for most of my life. I’m really happy with how it turned out, I think it’s just as cheerful and energetic as I wanted it to be.
I got my fabric printed at RealFabric.com, on their cotton canvas. I’m really happy with the quality of both the print and the fabric. The colors are bright, the lines are crisp, and I think this canvas is going to be just right as the lining for the backpacks I want to make – it’s lighter than the canvas I got for the exterior, but still nice and sturdy.
ALSO, the most exciting part for me is that RealFabric approved the design for their marketplace, which means that you can order Chalk Doodles on any of their fabrics!
A couple months ago, I visited a friend and discovered that she had mostly switched from using paper towels to cloth towels. Staying with her and using her towels convinced me this was an easier switch than I had thought, and by the time I went home I was resolved to switch to non-paper towels myself. Obviously cloth towels are a thing you can buy in stores – and there’s a lot that are specifically aimed at replacing paper towels – but I couldn’t find any exactly like what I wanted, so I ended up making my own.
A quick note on the environmental implications of this project: When it comes to cleaning up kitchen messes, your main choices are paper towels, synthetic towels (like the microfiber cloths my friend uses), or cotton towels (somebody out there probably makes towels out of other natural fibers, but if you’re looking for an absorbent and easily available natural fiber, cotton’s the obvious choice). I wanted to use less paper towels because I’m pretty sure the problems with toilet paper production also apply to paper towels. Reusable towels of any kind will reduce the amount of paper towels used, but I just didn’t like the idea of replacing something biodegradable with something plastic, so I chose cotton over microfiber. Is this actually the best choice? I honestly don’t know. I didn’t have enough information about the manufacturing process of the specific options I was comparing to do any kind of lifecycle emissions comparison. Also, I think that if I tried to optimize every single choice like this, I would end up paralyzed by indecision, and therefore make fewer of these sorts of changes. Instead, when I see an easy opportunity to reduce either waste or emissions, I try to take it, and hope that overall these choices add up to be better for the environment.
Making the towels
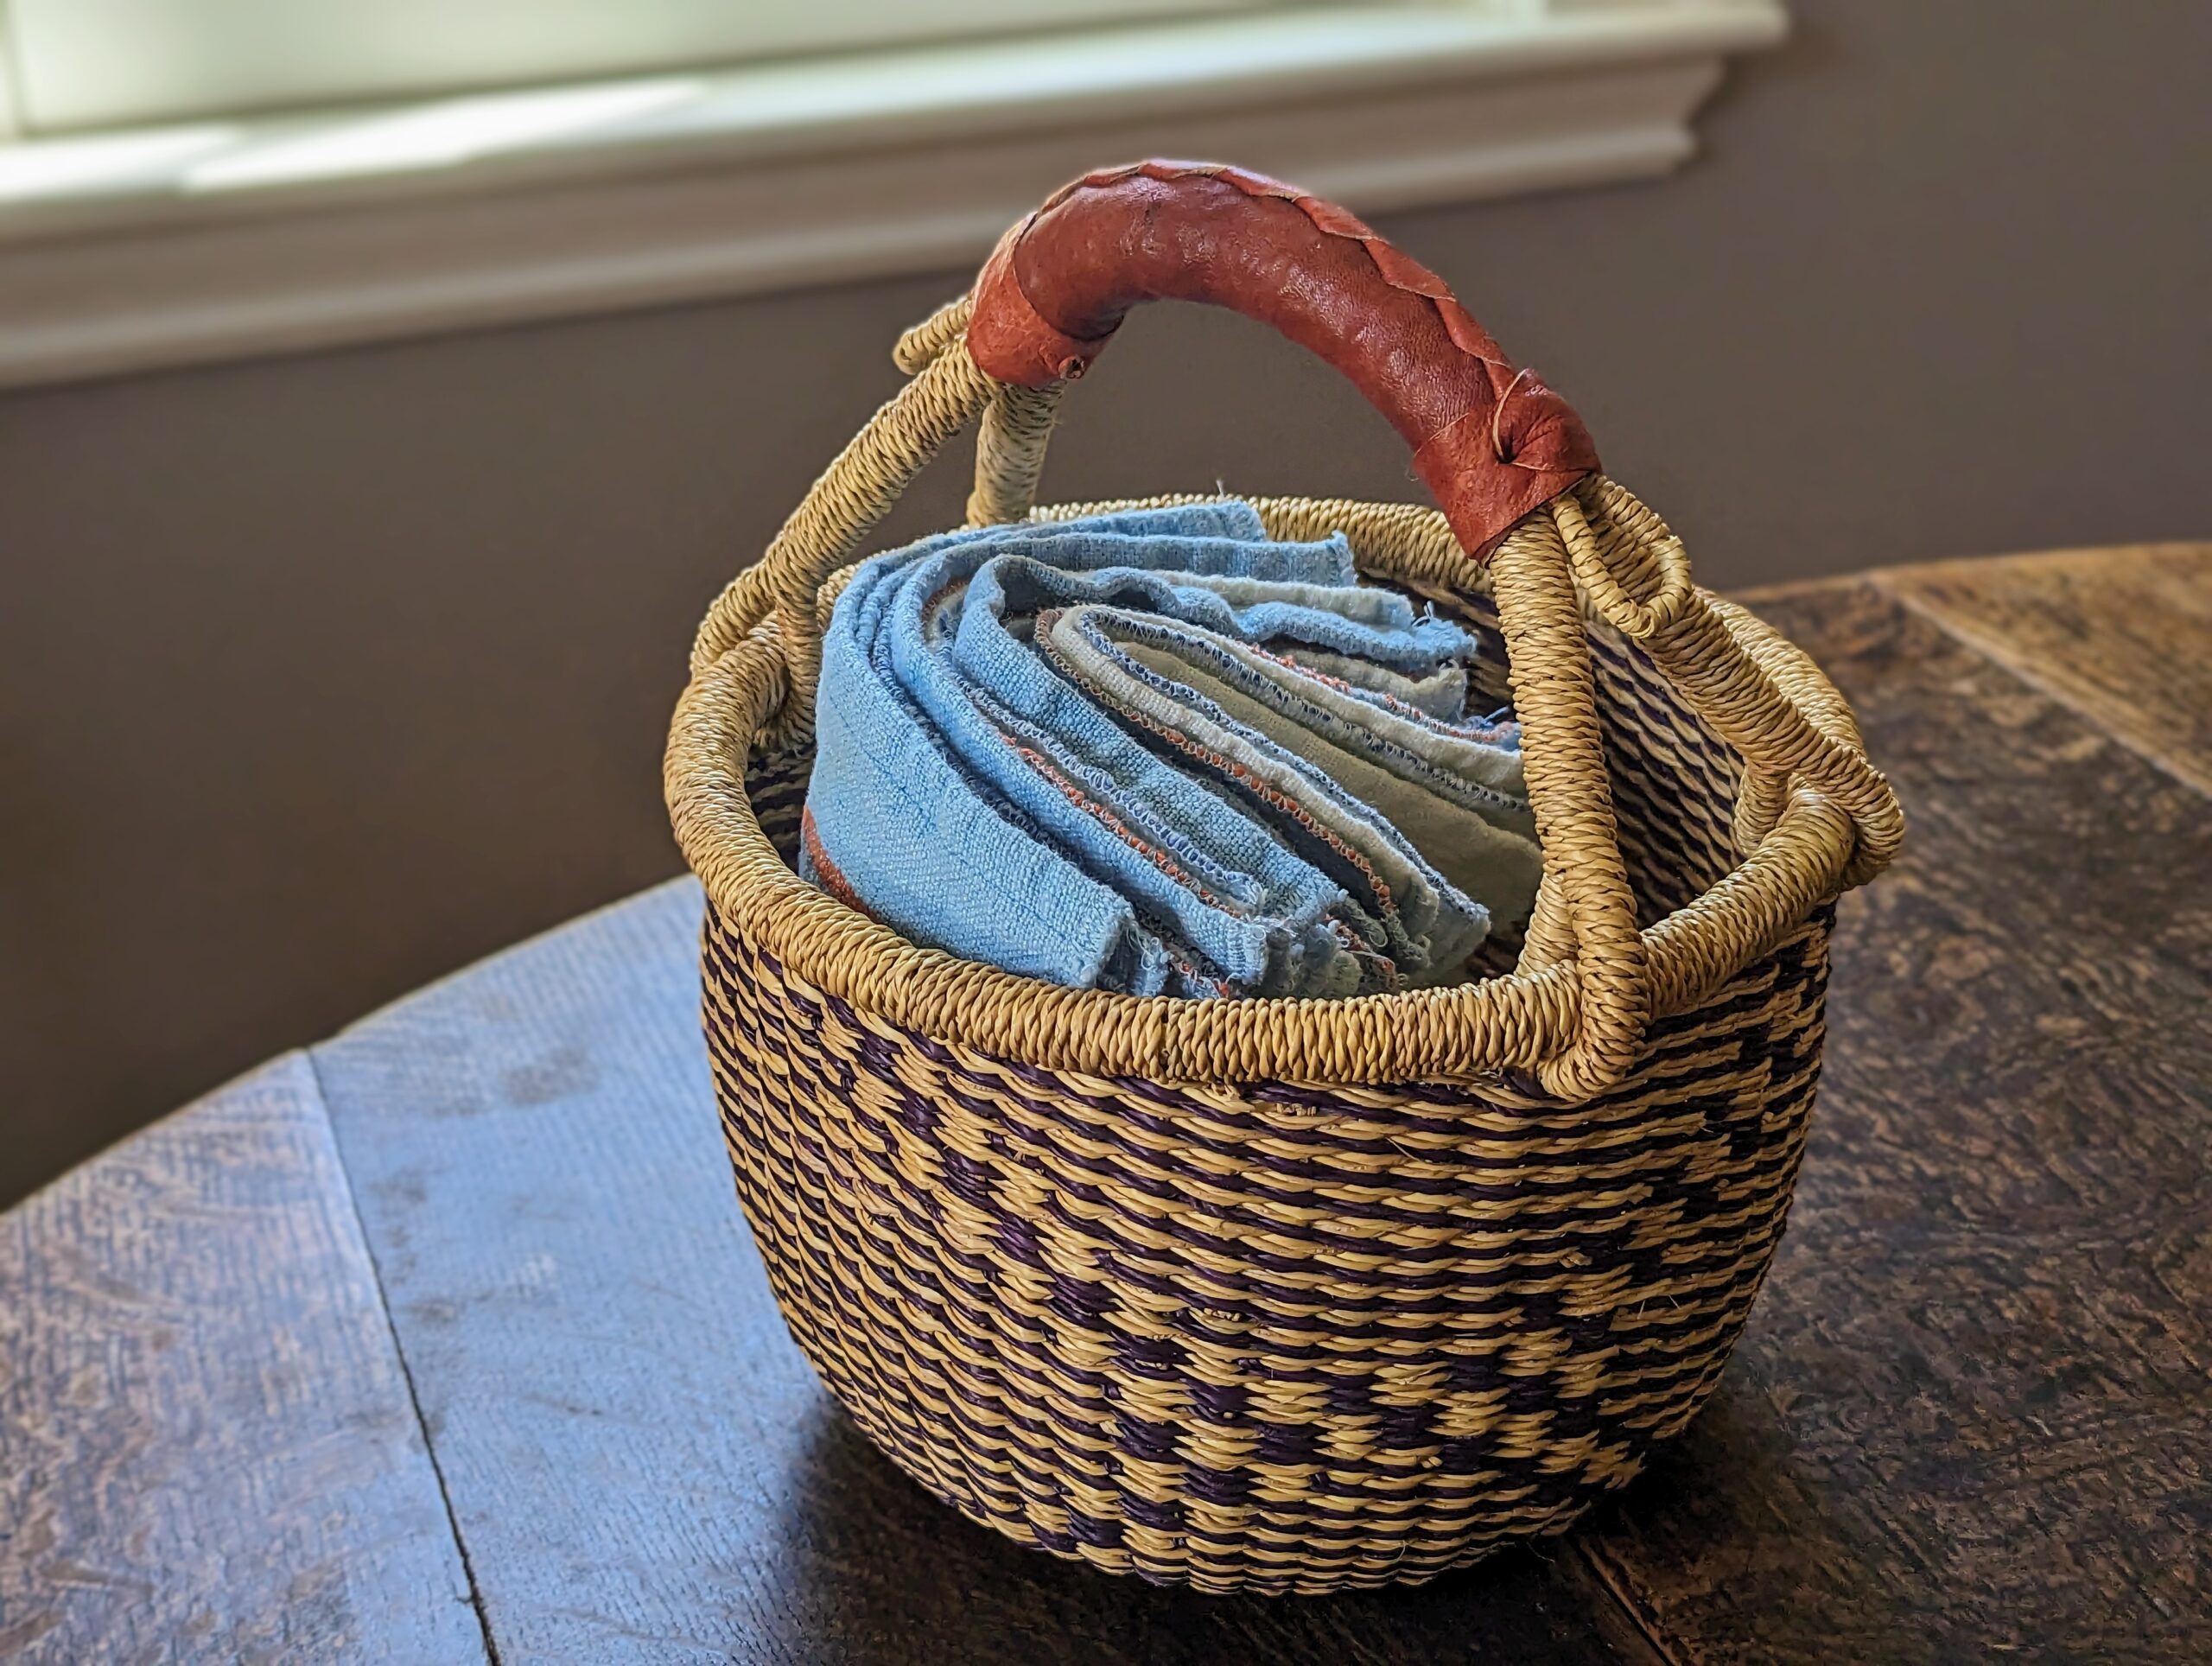
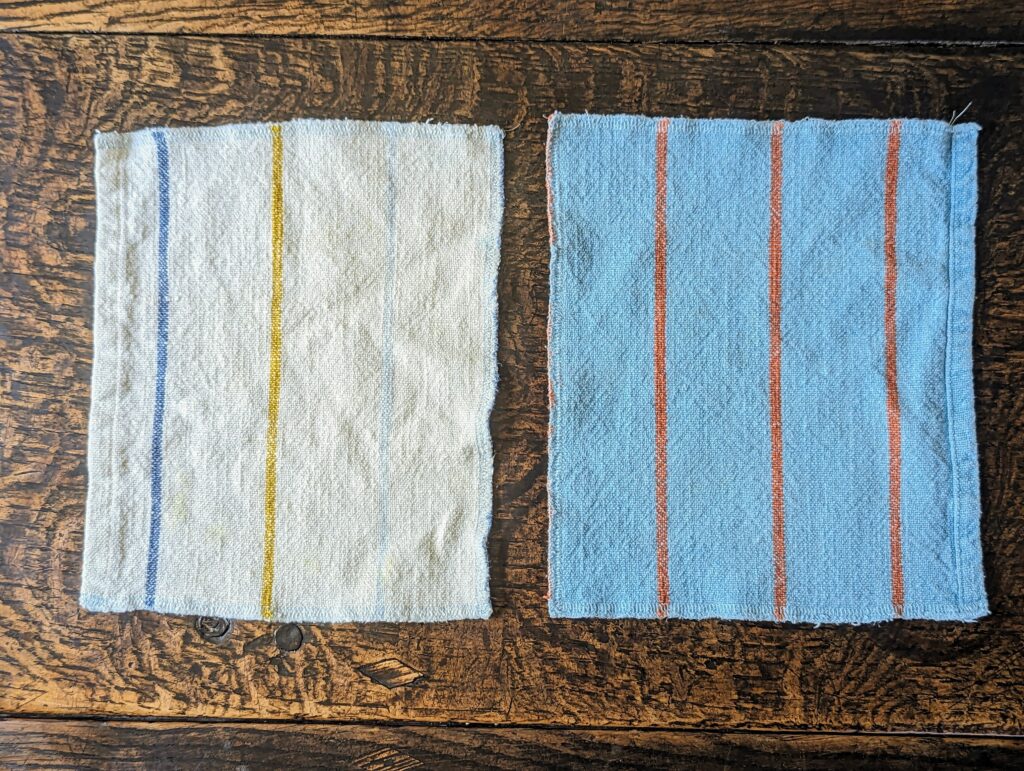
For this project, I used a Ruby Star Society cotton toweling fabric that I bought at Portsmouth Fabric Co, a not-quite local fabric store that I like to drop by whenever I’m up that way. I couldn’t choose between the white and blue, so I made about half in each color.
I wanted my towels to be 8” by 10”, and the toweling fabric is 16” wide, so that means I can fit two towels for every 10 inches of fabric. I think I ended up making 24 of each color, so that’s 24 towels x (10 in / 2 towels) = 120 inches, or 3 ⅓ yards for each color. The outside edges of the toweling fabric come pre-hemmed, but you’ll notice that the layout I described doesn’t leave any room for hemming the remaining three edges. That’s because I decided to overlock them instead of hemming them – it was more important to finish them quickly than have a beautiful finish, and I also didn’t want them to be too bulky when they were stacked together.
Luckily, I have a friend who (1) is a better sewer than me; (2) owns a serger/overlocker; and (3) is always willing to help me out with big projects (she helped with my bookshelf covers too). So, I took my fabric over to her house, we cut out the 8” by 10” rectangles, and then she quickly overlocked the edges while I used a darning needle to securely tuck the loose ends in. We did them all with a light blue thread that was a good color match for the blue towels and a nice contrast on the white towels.
Using the towels
We’ve been using these towels for a while now, and I’m very happy with them. We do still have paper towels in the house, but the cotton towels are out on the counter where the paper towels used to be, and the paper towels are tucked away in a cupboard so that we only get them out when we really need them. (For example, we’re still using paper towels to collect food grease, since that’s difficult to wash out of the cotton towels and those paper towels can go in the compost.)
One of my original hesitations with switching from paper towels to fabric towels was that the additional laundry would be a lot of work, but it’s not as bad as I feared. That’s mainly because I don’t actually fold them – I just stack them up neatly and then bend the whole stack and stick it into a basket. It takes way less time than folding each towel, and it’s pretty easy to grab and yank out a single towel when you’re using them. I owe this tip to my friend who originally sold me on cloth towels! It would literally never have occurred to me that something could go through the laundry and not get folded, but when I was helping with her laundry, I asked her how she folded her kitchen towels and she was like “I don’t.”
My other tip about using cloth towels is to make sure you give the wet ones a chance to dry out before tossing them into the laundry basket. I have a laundry basket sitting just outside my kitchen, and when I use these towels, the mostly dry ones go right in the basket but I make sure to hang the more damp ones over the edge of the basket until the next morning. In the morning, I toss all the dry used towels from the day before into the basket, making room for new wet towels along the edge. This means I don’t have to worry about the towels getting gross and moldy before I wash them.
Overall, I think it was a very successful project and I’m glad I did it.
If you have both bookshelves and a child of a certain age in your home, then you have experienced the child pulling the books off the shelf and throwing them all over the floor.
At first, I thought the “right” way to respond was to teach the baby to leave the books alone. After several months of failing to do that, I tried removing all the books on the bottom shelves, but then I had an office filled with stacks of books and a living room with eerily empty shelves. Eventually, I decided that the easiest solution was to block access to the books, and since I couldn’t find an existing product for this, I decided to make one.
This was a very quick and easy sewing project, and I was able to use only materials I already had lying around.
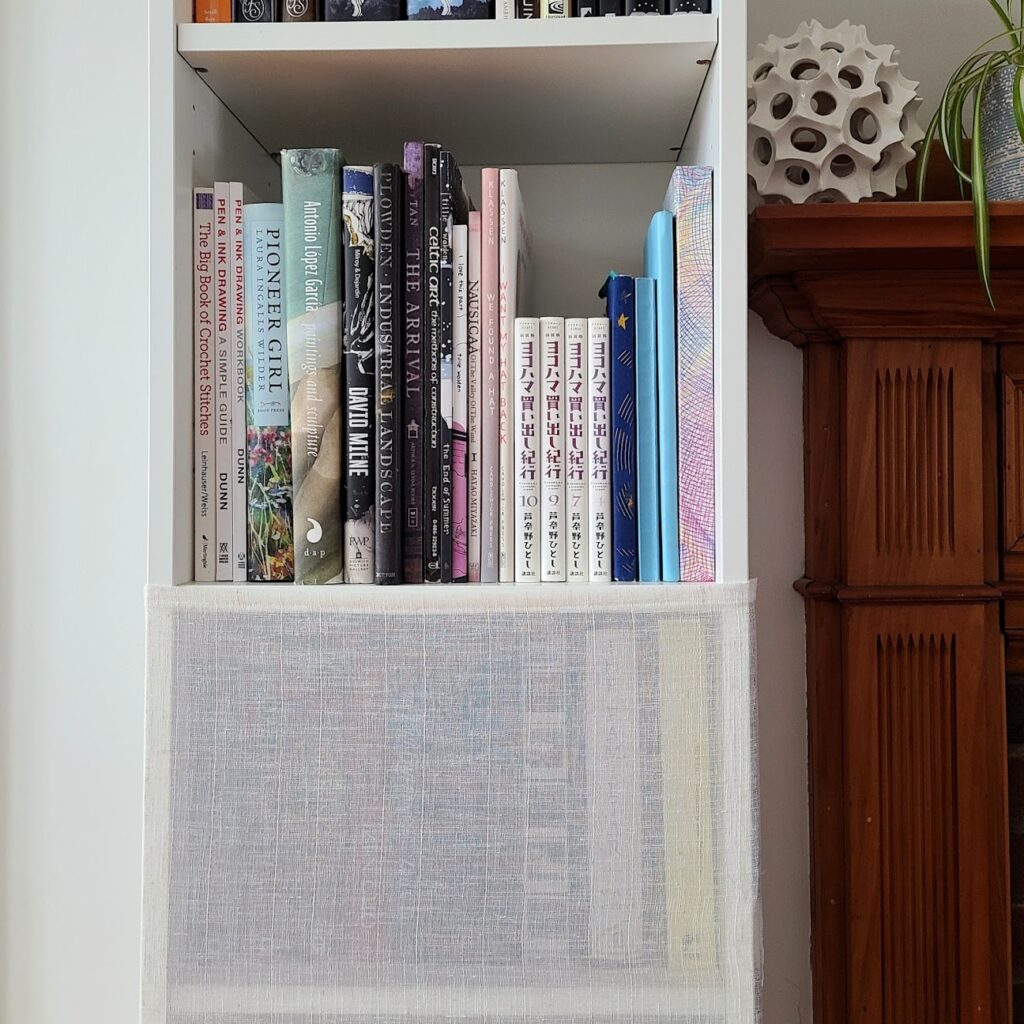
I started by measuring my bookshelves and cutting rectangles out of an old sheer curtain. Using a sheer or semi-sheer curtain has several advantages: the visible threads help you keep your cuts square; you can place your rectangles to take advantage of the existing hemmed edges; and the fabric is see-through enough that you can look for books without removing the cover.
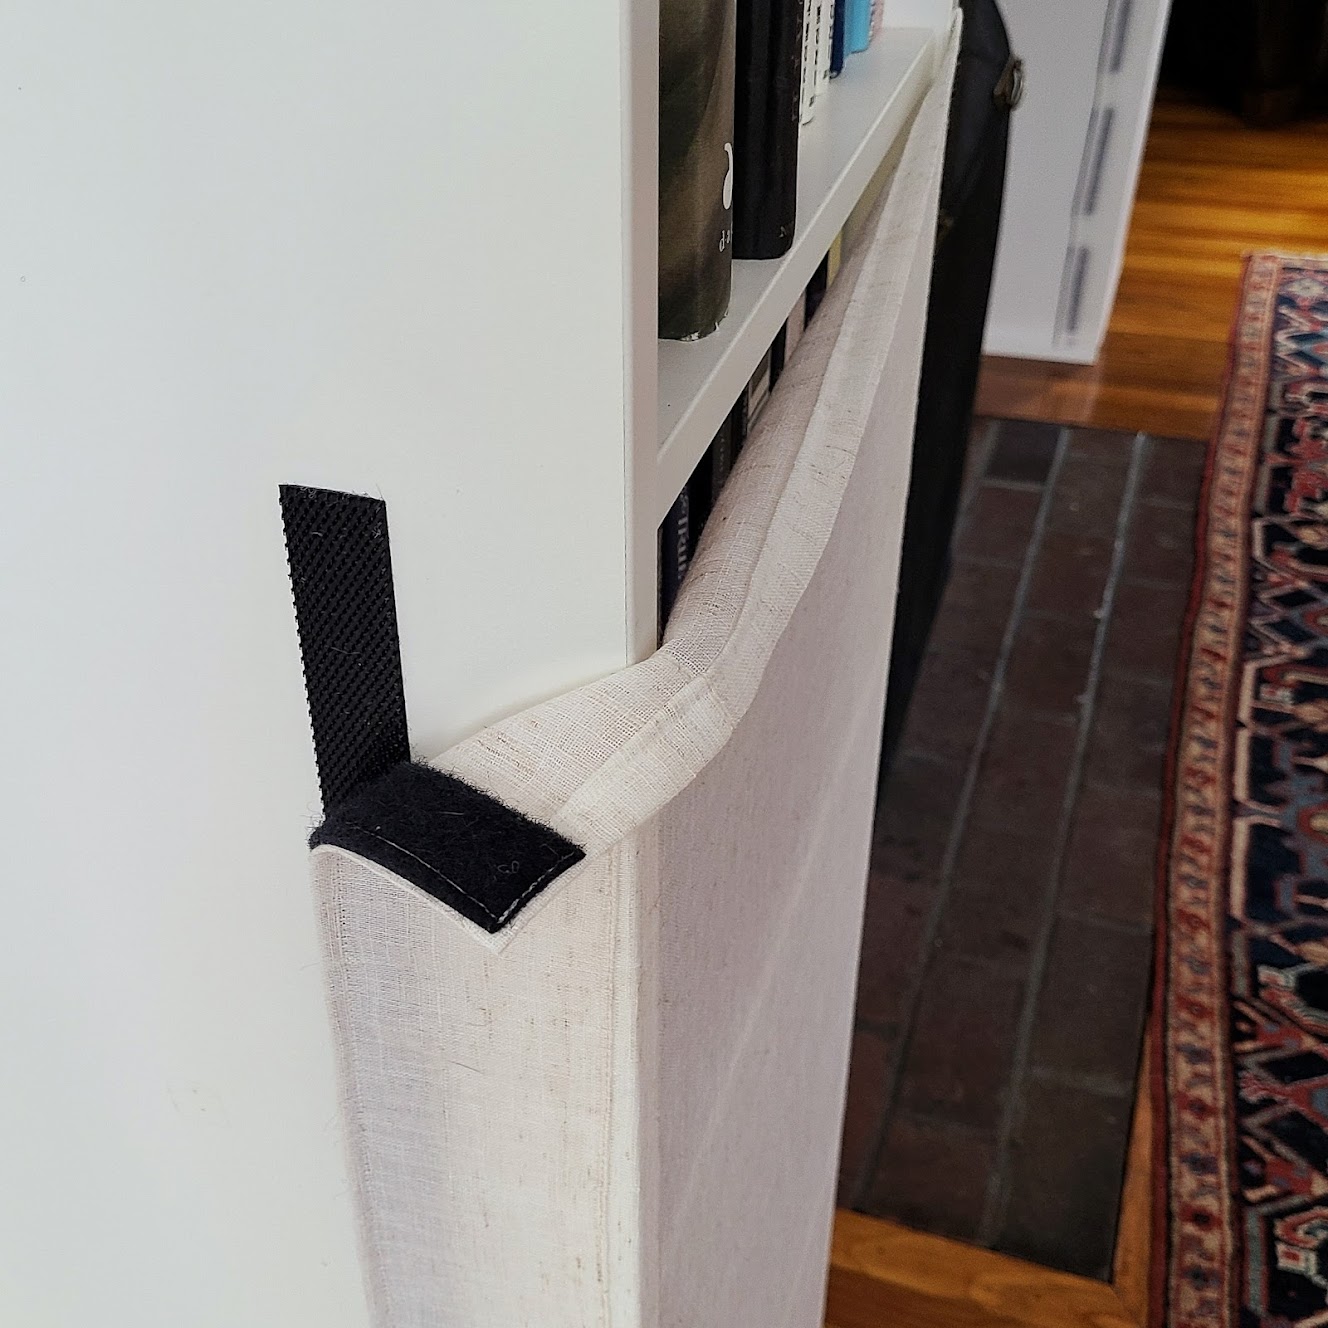
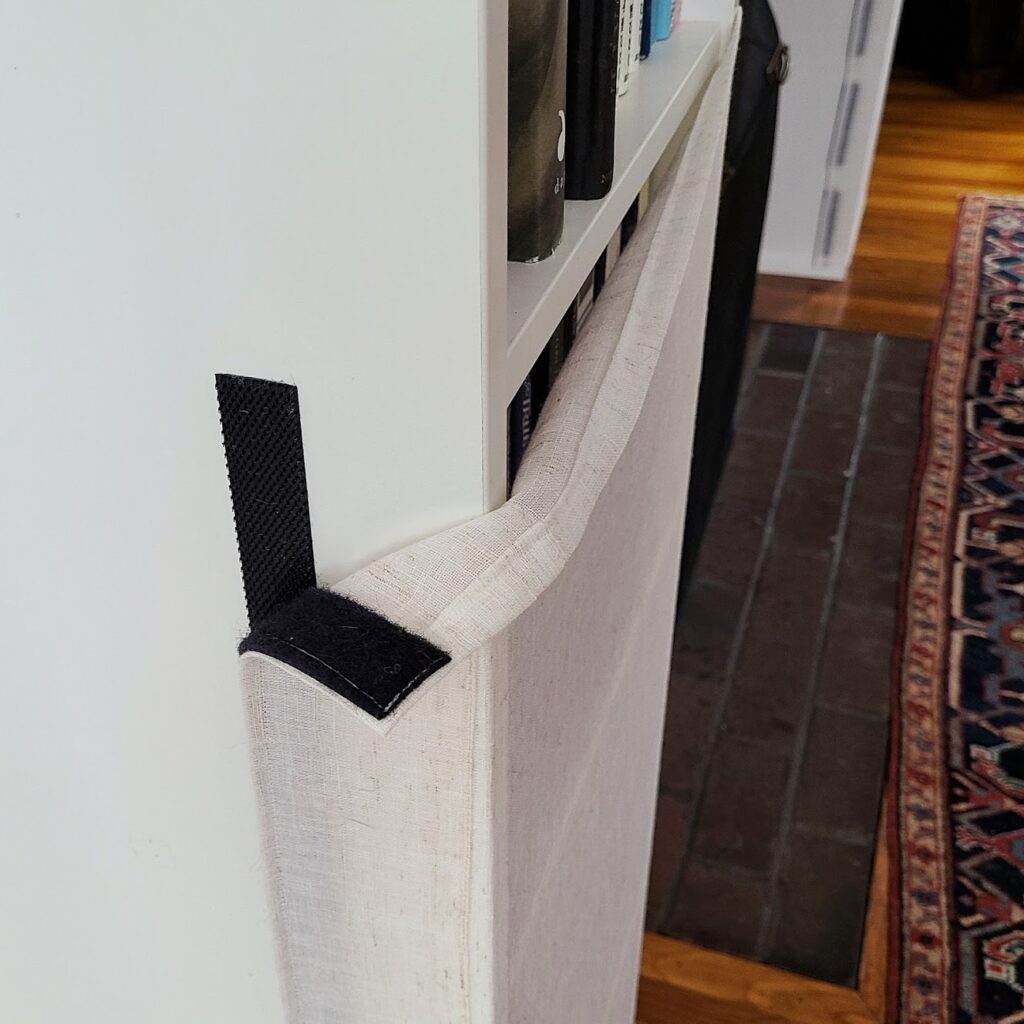
I hemmed the edges of my rectangles, and then sewed down strips of the loop (softer) side of some adhesive outdoor-strength velcro to the vertical sides. It’s important to use a very strong velcro so that little hands aren’t strong enough to take the cover off! The adhesive on the velcro stuck to my fabric well enough that I didn’t need pins, but it was weaker than the velcro sticking to itself, so it needed to be sewn down.
Then I put the other side of the velcro on, aligned the whole thing on my shelves, and stuck the other side of the velcro down, pulling as tightly as I could. And that’s it, all done!
It probably would have looked nicer with white velcro, but black is what I had. The other flaw is that I suspect the velcro will not come off the shelves cleanly, but these are relatively cheap bookshelves, so I don’t mind replacing them once everyone in my house is old enough to leave the books alone.
The bookshelf covers have been very effective. The toddler hasn’t gotten into the books at all, and it’s pretty easy for adults to get books when we need them (especially compared to the complicated baby proofing solutions in our kitchen). This was a simple project, but I’m really pleased with it!
I saw a thread on twitter about how to make your own sketchbook and thought, “Hey, I have all the supplies needed for that! Let’s try making a book!”
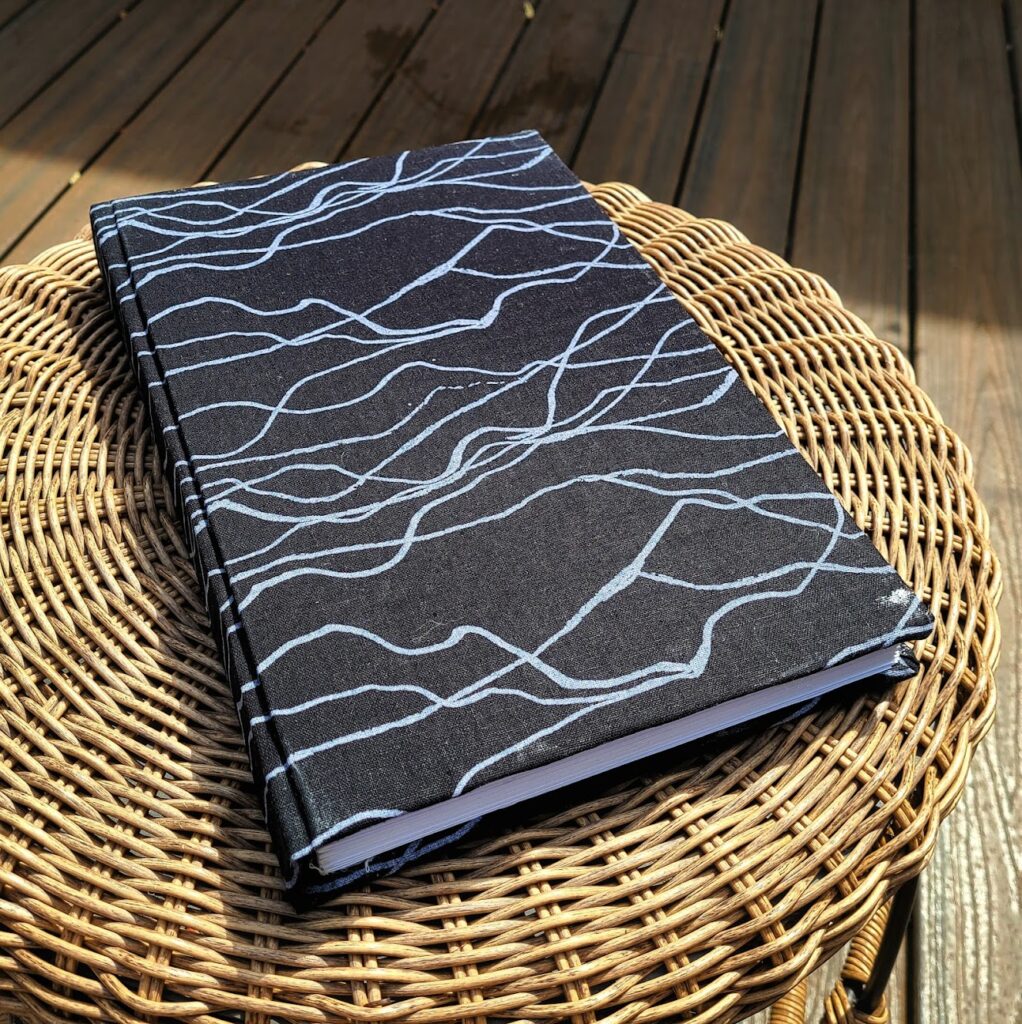
I have since lost the tweets in question, so unfortunately I can’t link you to the guide I followed, but it turns out that book binding is much easier than I thought it was. It took a really long time though, so I don’t think I’ll get into doing this regularly.
The cover is a lightweight canvas wrapped around cardboard, and the pages are watercolor paper that I had lying around.
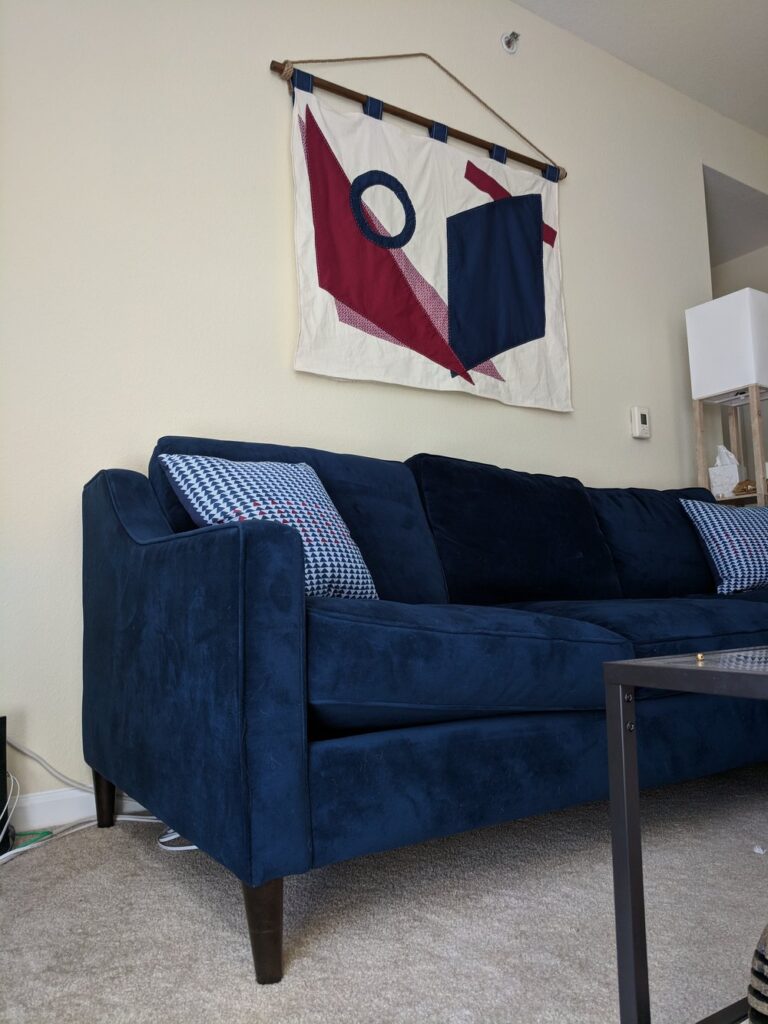
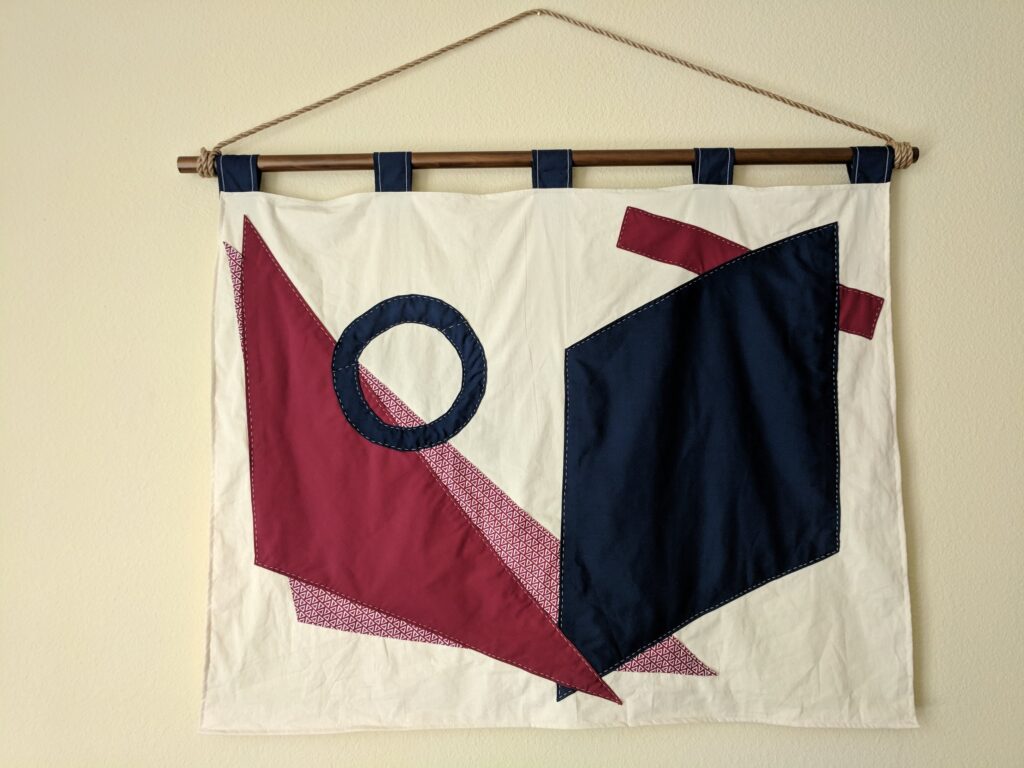
After watching a lot of The Great Interior Design Challenge I was inspired to make something to hang on my living room wall that coordinated with my couch. (Unfortunately, neither the couch nor the wall hanging particularly coordinates with the wall itself, since our apartment walls are yellower than I’d like and we’re not allowed to paint them…)
Originally when I decided to do this, I thought it would be a quick project, but I’d forgotten how much slower hand-sewing is than using a machine, so in the end I worked on this off and on for several months. I’m pretty satisfied with the results though!